How to paint your kitchen cabinets.
Learn how to prep and paint your old kitchen cabinets.
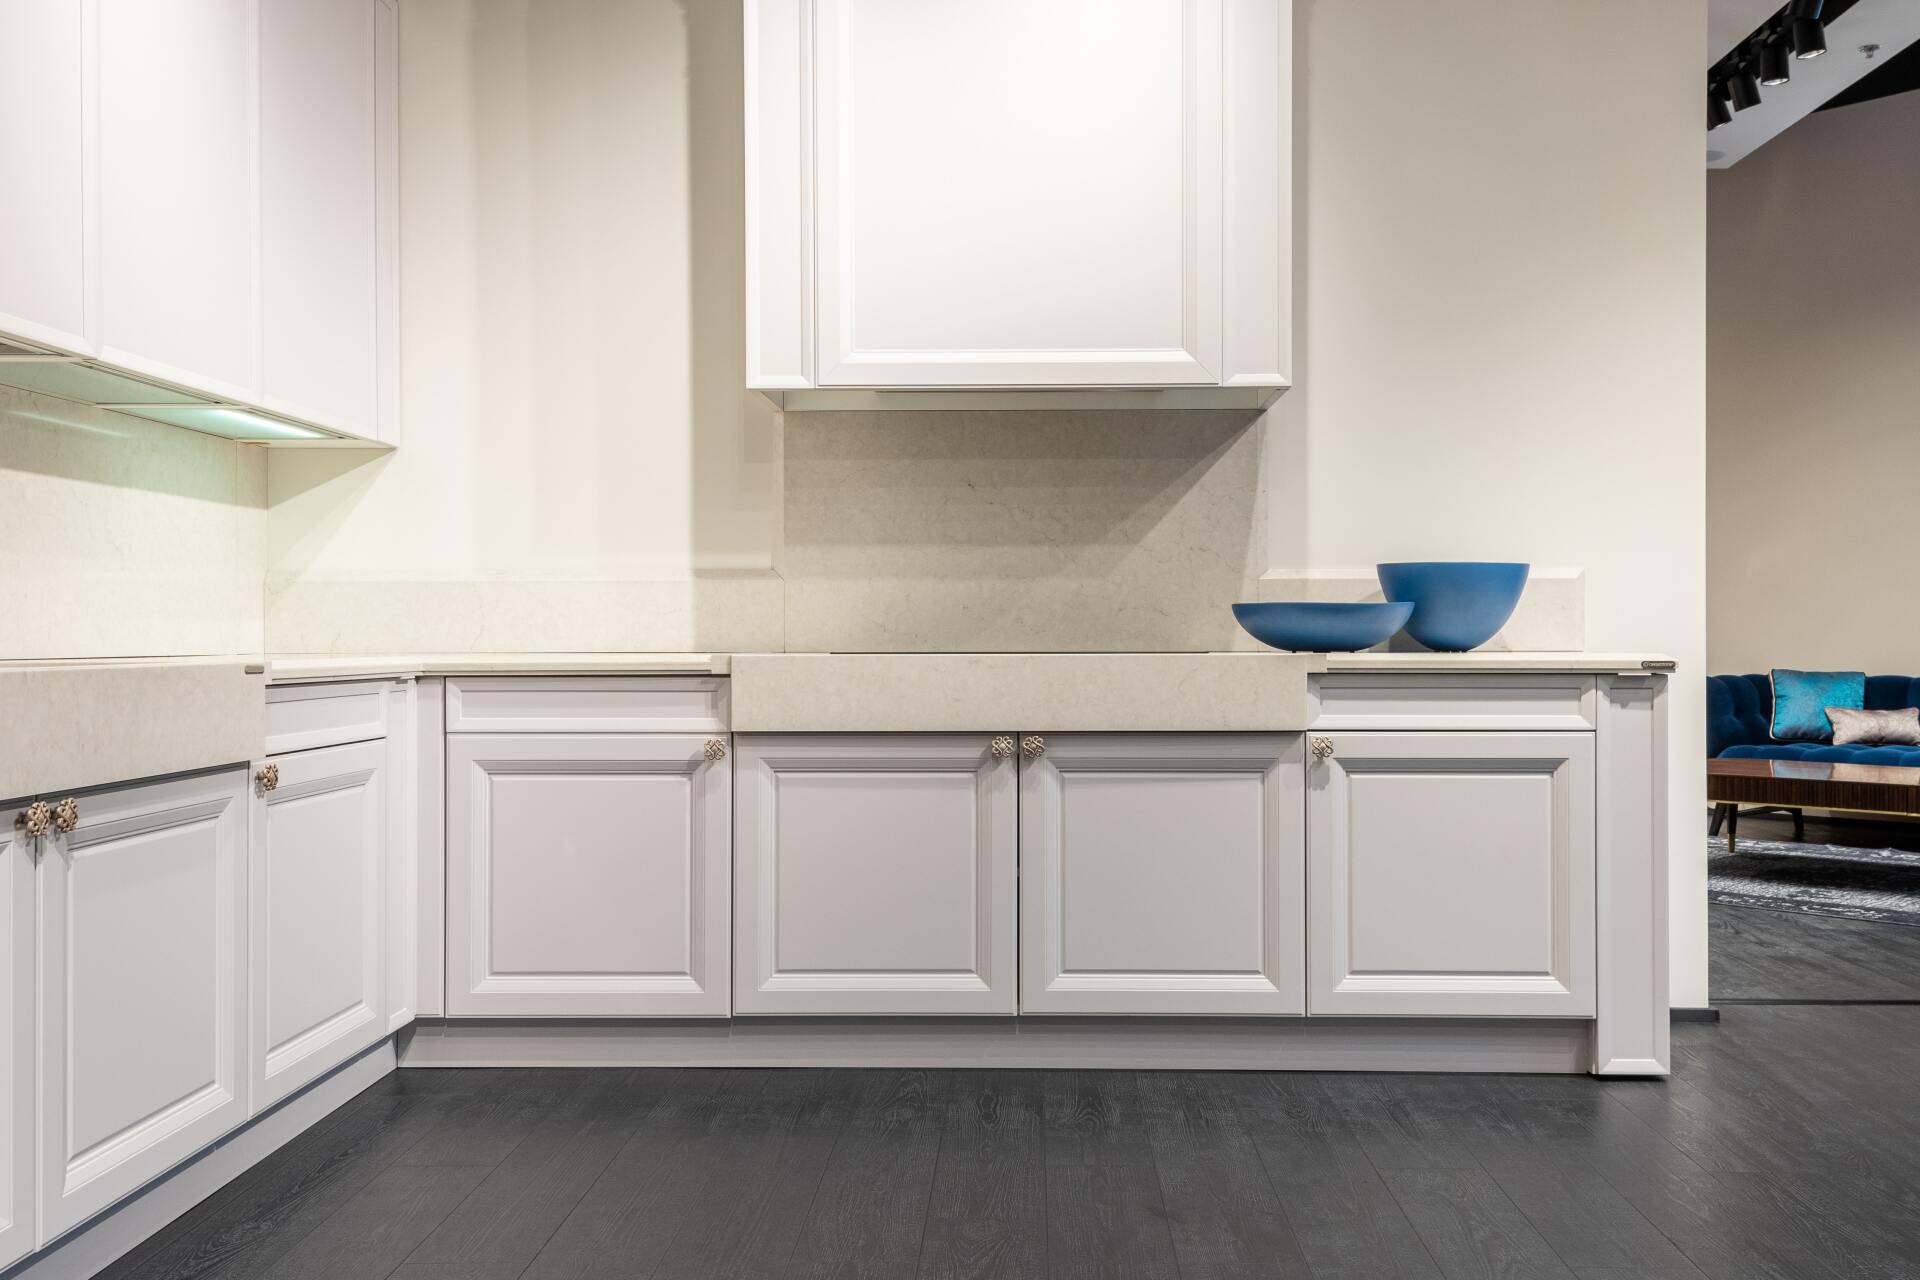
Are you looking to replace your outdated kitchen cabinets? So instead of replacing them, painting them is a simpler and more cost-effective option. The following steps are for painting cabinets made of wood or laminate.
Select the Correct Paint
- Choose the right supplies for your cabinets, whether they're solid wood, laminate, or metal.
- Specific directions can be found on the paint can's label.
- Painting wood cabinets is ideal, but it may be done on any panel that can be scrubbed with sandpaper.
- A specialized bonding primer is required for laminate cabinets. For best results, the laminate must be in good shape.
- Select a high-quality paint for your project. Special cabinet paints with a smooth finish are available, although any high-quality paint should suffice.
- Make sure the paint you're using is acrylic rather than vinyl. Acrylic latex paint is long-lasting and easy to clean.
- Always observe the manufacturer's cure time directions when using latex paints.
- A gloss finish can give your cabinets a gleam, but it will also show dings and scratches.
- A gloss finish will give your cabinets a gleam, but it will show flaws and errors more prominently. Kitchens generally have semi-gloss or satin surfaces. It can be hard to clean some flat finish paints. Details can be found in the instructions.
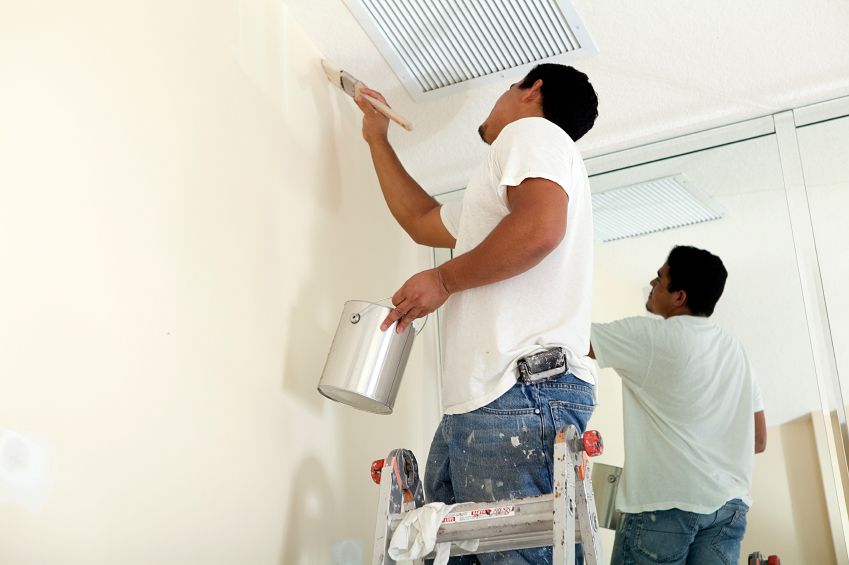
Time to Prep for Painting the Cabinets
Plan ahead of time because painting cabinets may take several days. Always use the proper safety equipment and keep the windows open for ventilation. Also, for the greatest results, remove the cabinet doors and work on them in an out-of-the-way location, such as a garage or basement. Make sure you have adequate ventilation as well.
Repair Any Damage and Remove Dirt
To eliminate any oil or debris, clean all surfaces using TSP cleaner. Restore the regions that have been destroyed. Wood filler can be used to fill in dents and holes. Press it in and smooth it out with a putty knife. Allow it to dry as per the manufacturer's instructions. If you plan to use the same hardware, don't fill the hardware holes. If you're upgrading your hardware, you may need to fill any holes that don't line up with the new hardware with wood filler.
Now Time to Prep the Area and Sand
Protect your counters, appliances, and other locations by covering them. It's a good idea to use painter's tape along the cabinet borders on the wall. To assist the paint attach to the surface, sand everything using a medium grit sandpaper. To get into the intricate regions on doors and drawers, as well as the corners of the frames, fold the sandpaper.
Prime Your Cabinets
The application of primer is a crucial step in the painting process. Primer creates a sufficient foundation for the paint to adhere to and hides flaws. Work from the inside out on the cabinet frames. Start painting the inside of the cabinets from the back and work your way forward. To get into nooks and detailed areas, use a brush. It's crucial to work in even strokes and return to the wet primer.On large, flat areas, use a small roller. Primer doesn't have to be flawless. Its job is to protect the surface and provide as a good foundation for the finish paint. One section at a time should be worked on. Doors and drawers should be painted. The tape labels should be removed but kept nearby. Begin by applying a smooth, even application to the backside. Turn the door over and paint the front once it's dry. Begin by feathering out the borders of the detailed sections, making sure the primer doesn't pool in the corners. Then use a foam roller to work on the bigger, flat areas. To lift the doors and drawers off your painting surface, use painter's tripods. This makes it easier to paint the edges.
It's usually advisable to paint just the drawer front section rather than the full drawer when painting drawers. Painting the bottom and sides of the drawers can cause them to adhere in the frames. Let the primer to dry according to the manufacturer's instructions. This process should take several hours to complete.
Time to Paint
You've done all of the hard work and now comes the time for you to paint your cabinets. Select a high grade roller and brush for this project. Only use a sprayer if you have significant experience and know how to apply accurately.
Begin by painting the cabinet frames with a high-quality brush for small areas and a foam roller for bigger areas. Use even strokes with the brush, finishing the stroke back into the wet paint and feathering out the edges, just as you did with the primer. Additionally, try to lay off once you've painted the surface. Repaint the area with a second layer of paint. This will be the last coat. Allow the paint to dry completely. Reassembling anything before the paint has fully dried is not a good idea.
Reassemble the Cabinets
You're almost done! Consider installing shelf liners because now your cabinets have been painted. Some liners have a decorative appearance and adhere to the surface. Others are cushioned to protect the floor. Put the cabinets and hardware back together. Use the labels to ensure that the doors and drawers are returned to their proper locations. After you've finished refreshing your cabinets, you might want to consider adding under cabinet lighting or a new backsplash.
Now take a step back and admire your hard work. You've accomplished something that very few are willing to do. Enjoy your new kitchen and tell every friend you know that your brand new looking cabinets were done by your's truly. Brag and be proud!
You might also like
Bowling Green Painting